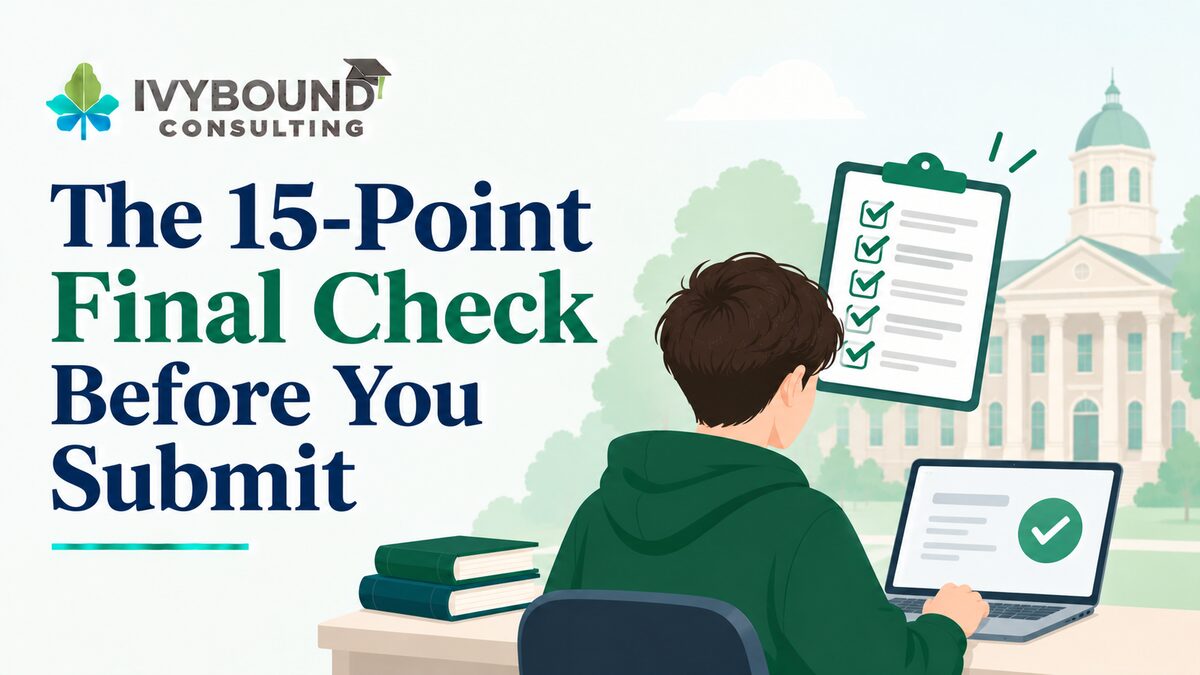
The 15-Point Final Check Before You Submit
After years of relentless effort, late-night study sessions, and careful planning, you are finally standing on the threshold of submitting your college applications. It is easy to assume that once your essays are written and your test scores are sent, the hardest work is behind you. But the final review is where many high-achieving students accidentally undermine their own success through preventable oversights.
At IvyBound Consulting, we repeatedly see brilliant candidates lose momentum in the final stretch because of minor formatting glitches, mismatched dates, or overlooked supplemental fields. A rigorous quality-control process before you click submit is the best insurance for your hard work. The 15 checks below are grouped into three stages, so you can work through them in order and know exactly where you are.
Stage 1: Verify Academic Precision and Core Personal Information
The first stage makes sure your biographical, academic, and administrative details are entirely error-free.
1. Confirm Your Identifying Details
Your full legal name, date of birth, and Social Security number should match your official school records and test agency profiles exactly. Even a small mismatch can cause document matching delays, so compare each field against your official records rather than relying on memory.
2. Match Your Coursework to Your Transcript
Check that your self-reported courses, grades, and senior year schedule align exactly with your official high school transcript. Admissions teams cross-reference self-reported data against school documentation, and an accidental discrepancy in course titles or credit values can flag your file for administrative review.
3. Select the Correct Application Plan and Major
Confirm that you chose the right plan for each school, whether Early Decision, Early Action, or Regular Decision, along with your intended major or academic track. Because plans carry different deadlines and commitments, this is one setting worth verifying twice.
4. Verify Recommender Contact Details
Make sure your counselor and teacher recommendation contacts are entered correctly. Accurate details ensure the evaluation forms route to the right portals without technical hitches.
5. Check Each School’s Testing Policy
Confirm that your standardized testing choices match the specific reporting guidelines of every institution on your list. Policies vary from school to school, so review each one individually.
Stage 2: Refine Essay Formatting and Supplemental Section Integrity
Once your facts are verified, shift your attention to the qualitative heart of your application: your personal statement and supplemental essays.
6. Read Every Essay Aloud From the Preview Screen
Word processors and application portals handle formatting differently, so copied text can introduce strange line breaks, missing italics, or corrupted special characters. Reading each essay aloud directly from the preview screen helps you catch awkward phrasing, typos, and glitches before a reader ever sees them.
7. Check the School Name in Every Supplement
Accidentally leaving another school’s name in a response is a surprisingly common and costly mistake. Confirm that the correct institution is named throughout each university-specific supplemental essay.
8. Answer Every Part of Each Prompt
Review your short-answer prompts and optional essays to be sure they fully address the question asked. It is easy to drift off topic when you are polishing for style, so reread each prompt and check your response against it.
9. Polish Your Activities List
Confirm that your character counts are maximized, your action verbs are sharp, and your position titles clearly reflect your leadership scope. This section is often skimmed quickly by readers, so every word needs to earn its place.
10. Use the Additional Information Section Intentionally
Reserve this space for necessary explanations rather than treating it as extra essay room. Used with purpose, it adds context. Used as overflow, it dilutes the rest of your application.
Stage 3: Review PDF Previews and Confirm Submission Mechanics
The final stage is about inspecting what the admissions officer will actually read and confirming that everything arrives as intended.
11. Download and Review the PDF Preview
Application portal screens can be deceiving. The generated PDF shows exactly how your formatting, margins, and text alignment will render on the reader’s screen, so read it from start to finish before submitting.
12. Look for Cut-Off Text and Unclear Uploads
Confirm that no text is cut off in text boxes or activity descriptions, and that every uploaded document renders clearly without blurry formatting. A truncated sentence can change the meaning of what you wrote.
13. Process Fees or Fee Waivers
Make sure your application fee payment or fee waiver has been processed. Doing so lets your file move immediately into active review status.
14. Verify Receipt Within 48 Hours
Once you click submit, log into each university’s applicant portal within forty-eight hours. Check that your recommendation letters, transcripts, and test scores show as received, and follow up quickly if anything is missing.
15. Save a Copy of Everything You Submitted
Keep a dedicated folder of your submitted PDF files. Having them on hand lets you reference your answers during future interview preparation.
Submit With Confidence
Completing this systematic checklist helps ensure your application arrives airtight, professional, and ready to make a winning impression on the admissions committee. A comprehensive pre-submission review protects your investment and lets reading committees evaluate your candidacy at its best.
If you want an expert set of eyes to conduct a thorough pre-submission audit of your college applications, schedule a free consultation with IvyBound Consulting to meet Ruchi S. Kothari, and take the first step toward a future that reflects who you truly are. Let’s talk!